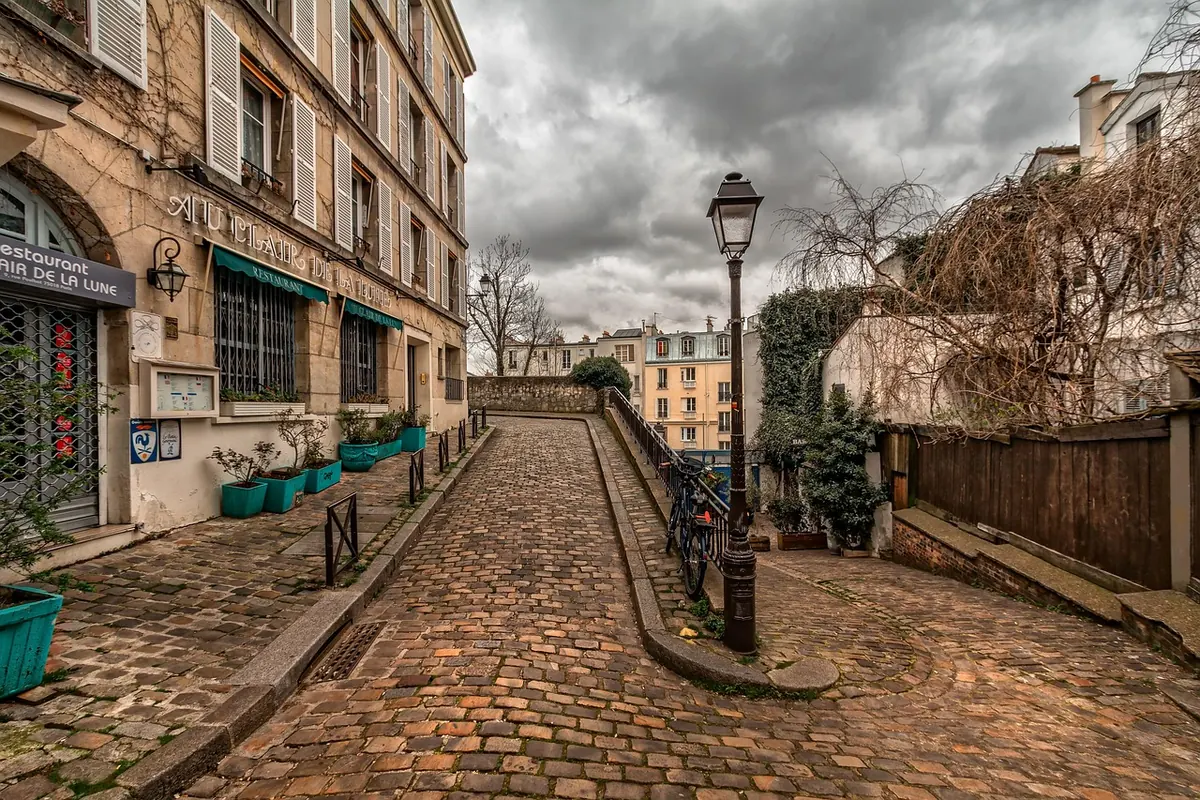
A cobblestone path earns its keep twice over: it takes you from gate to door without the winter mud, and it makes even a small garden look considered. Granite setts are the classic choice, new or reclaimed, and the method barely changes whatever you buy.
What follows is the routine for a pedestrian path — no cars, no delivery vans, no steep slopes. It assumes some digging, a whacker plate and a dry weekend. Get the order of work right and the stone will still sit flat in a decade's time.
Measure up, then plan the layers
Paths are built from the bottom up, so work out the finished level and the depth you need to dig. The stack is roughly: compacted sub-base, bedding, then the sett. A 50mm sett on 30mm of bedding over 100mm of compacted Type 1 comes to about 180mm, so dig to around 200mm and let the rest settle out. Write that number down, because you will second-guess yourself by lunchtime.
Aim for a fall of about 1:60 — roughly 15mm per metre — running away from the house or towards a drain. Beside a wall, fall away from the wall. Water sitting against a building is the most common reason a DIY path turns into a problem.
If your property is listed, or sits in a conservation area, check with the local planning authority before changing a front garden surface. In England, an impermeable surface in a front garden over five square metres can need permission; permeable construction, or drainage to a soakaway, usually avoids it. Check before ordering, not after.
You will need:
- A spade, fork and a mattock or pickaxe for stubborn ground
- String line, pegs, tape measure and a 1.8m straightedge
- Spirit level, rubber mallet, club hammer
- A whacker plate (hire one — hand tamping will not do the job properly)
- Wheelbarrow, rake, shovel, stiff brush
- Gloves, safety glasses and a dust mask when cutting stone
Dig out and build the sub-base
Mark the edges with a line and dig to your depth, plus a little extra width. A path 900mm wide feels comfortable; 1,200mm is better if two people will ever pass. Keep the excavation tidy — a wobbly trench makes everything after it harder.
Remove roots and soft spots, then compact the bottom. Type 1 MOT is the usual sub-base for a garden path. Tip it in and compact in layers no more than 75mm deep, overlapping each pass. On heavy clay, a geotextile membrane under the stone stops the sub-base sinking into the mud. Skip the weed fabric you might be tempted to put under the setts themselves; once the base is solid it does little, and it can leave a wobbly surface.
Check the fall as you go. Lay the straightedge across the pegs, drop the level on top, and adjust now. Fixing a bad fall at this stage costs a rake; fixing it later costs a weekend.
Set the edging first
A path without a proper edge will spread. Setts creep, sand washes out, and the outline softens into the border. Use granite kerb, a row of larger setts, or a rigid concrete edge, bedded on mortar and haunched with concrete on the outside — a wedge about 100mm wide, sloping down away from the stone.
Run both edges on the same fall and check them against the string line. Once the edge has set, it becomes your level reference for everything else. Leave the haunching for at least a day before you lean on it.
Laying the setts
Spread the bedding — 30mm of sharp sand for a flexible path, or a 1:5 sharp sand and cement mortar bed if you want it rigid. Do not lay more than a metre or so ahead of yourself; bedding dries and dips.
Then work from a corner or along the edge line:
- Check each sett for a good face and consistent thickness.
- Set it into the bed with a firm push, then tap down with a rubber mallet.
- Check it against the string and its neighbours. A straightedge across three or four setts catches high spots fast.
- Keep joints even at around 10–15mm, and vary the pattern rather than lining everything up in rows.
Dry-lay a couple of square metres first if setts are new to you. It is quicker to rethink a loose pile than a bedded one.
Jointing: pick your finish
- Sand joints. Brush kiln-dried sand into the joints, compact with a rubber mat under the whacker plate, top up, repeat. Cheap, forgiving, quick and free-draining. Expect to top it up through the first few months and again after heavy rain.
- Mortar joints. A 4:1 sharp sand and cement mix, struck with a jointing iron to a slightly concave profile. Harder work and unforgiving of a poor base, but it locks the path together and stays put.
- Resin joints. A resin-bound or resin-mortar joint gives a firm, permeable finish that resists weeds. It costs more and needs dry weather to cure, but the result is neat.
Whichever you choose, finish the joints before the path takes heavy foot traffic, and wipe mortar off the stone faces as you go. Once it sets, that job involves a wire brush and a short temper.
Aftercare and keeping it right
Keep off a sand-jointed path for a day or two, and a mortared one for two days — longer in cold, wet weather. Top up sand joints on a dry day in the first season.
Weeds mostly arrive from above: seed blows in, lands in the joints and grows. A stiff brush and a hoe deal with most of it. Under trees, expect moss; a scrub with a stiff broom each spring usually keeps it in check.
Before you dig, check for buried services, and if the path needs to drain towards a soakaway or across a boundary, take advice rather than guessing. Nothing about laying setts is difficult, but almost all of it is order of work: ground, edge, stone, joint. Do it in that sequence and the path will look as though it has been there a century, which is roughly the point.
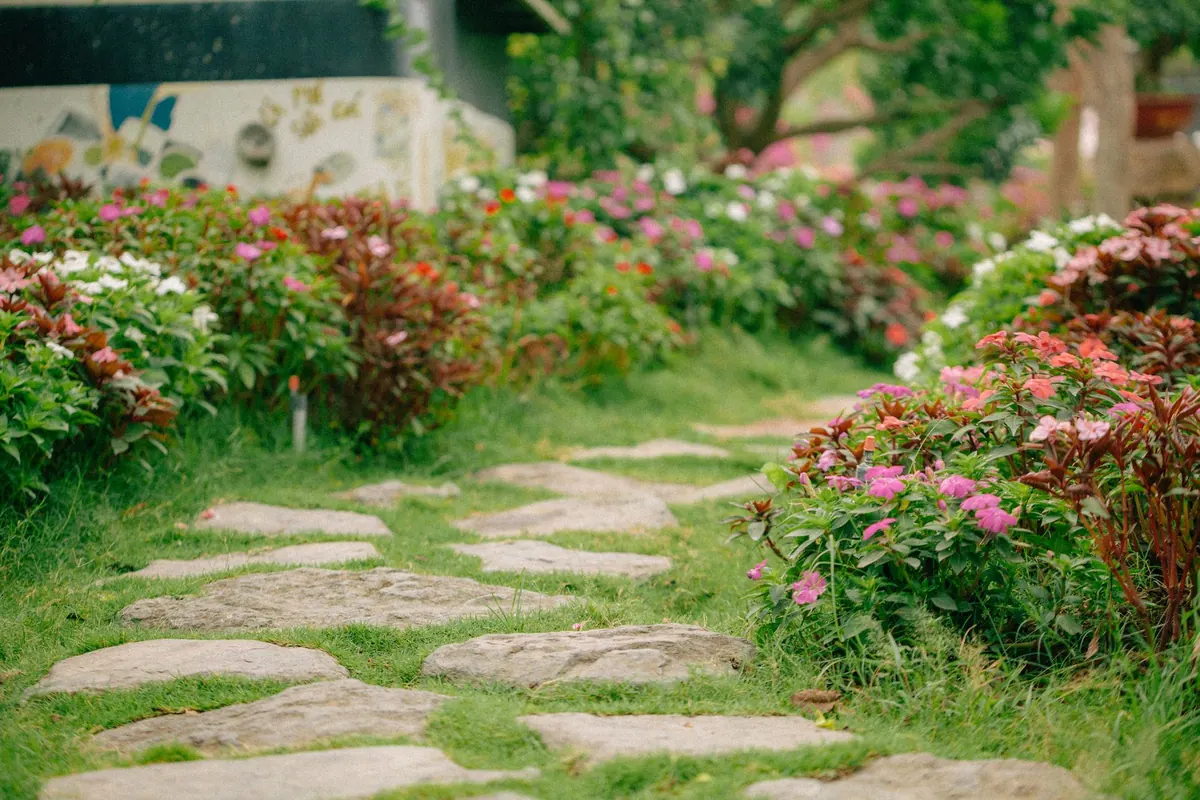
Photo: Bảo Minh / Pexels